Integrations
Microsoft ADFS
You can use ADFS to log in to Acquire.
Requirements
To use ADFS to log in to your Acquire instance, you will need the following info:
A working domain on your Windows Server 2012\
An Active Directory instance wherever all users have a username, email attribute.
A server running Microsoft Server 2012R2. we have a tendency to guide uses in our document screenshots from Server 2012R2, however similar steps ought to be attainable on alternative versions.
SSL certificate to sign your ADFS login page.
Know your ‘SAML 2.0/W-Federation’ URL (found in ADFS Endpoints). If you chose the defaults for the installation, this will be ‘/adfs/ls’.
Installing and Configuring ADFS on your Windows Server
This is the primary step that has to be done if you do not have your ADFS and AD configuration done already. you’ll be able to see this Microsoft article for additional information to configure ADFS.
When you have a completely installed ADFS installation, note down the value for the ‘SAML 2.0/W-Federation’ URL within the ADFS Endpoints section.
If you selected the defaults for the installation, this will be ‘/adfs/ls/’.
Integrating Microsoft Active Directory Federation Services (ADFS) is fairly straightforward. In addition to configuring your Admin account on Acquire, you will need your organization’s assistance in adding Relying Party Trust information to your ADFS configurations.
There are several components that are required to be copied and pasted between Acquire and ADFS.
The Acquire Authentication Url. This is a name you pick when you create the authentication (see below). The Token-Signing certificate of the ADFS. The ADFS Federation Login URL. This is a URL where ADFS keeps the SAML access for your account.
Example Endpoints: https://acq-adfs.acquire.io/adfs/ls
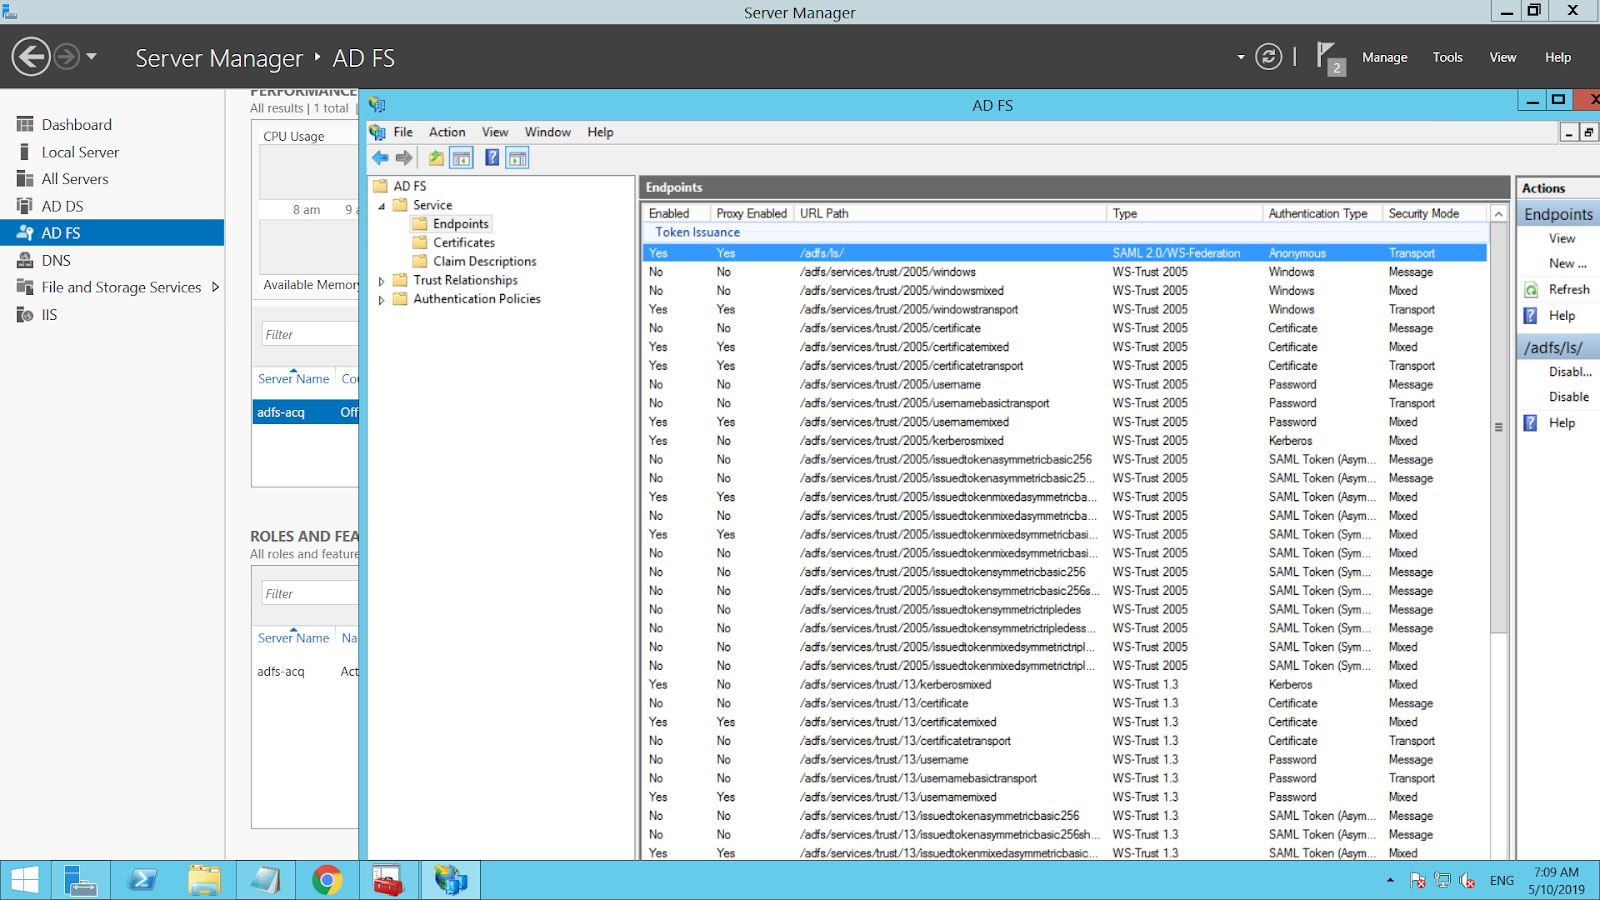
To find ADFS service endpoint URL path:
1. Access AD FS Management Console (Server Manager > Tools > AD FS Management).

2. In AD FS Management Console, under Services, select Endpoints & Find the endpoint by looking at the Url Path column. EndPoints Url will be {{your_domain}}“/adfs/ls/”.
Example: https://acq-adfs.acquire.io/adfs/ls
Following the steps below, you can find these values and copy them from ADFS to Acquire and Acquire to ADFS. You should read this guide all the way through, before beginning, so that you will be able to gather the necessary info for each step ahead-of-time. Once you have the required info, this integration should take less time. The screenshots below will help guide you.
PREREQUISITES
First, make sure that you have an Acquire account, Admin account with ADFS Integrations Configured. When this is configured, you can access ADFS login enabled at Acquire. ADFS Federation Login URL & signing certificate will need to create configurations between Acquire and ADFS.
Step 1. Add The Relying Party Trust And Claims Rules To ADFS
Now let’s perform some setup tasks in your Microsoft ADFS environment to integrate with your new Custom Authentication setup on Acquire. The instructions below were created from a Microsoft Windows Server 2016 running ADFS but should also work well for a Windows Server 2012 R2 infrastructure. You will need to ensure that your ADFS infrastructure is using a valid SSL certificate that can be verified.
First, we need to add a new Relying Party Trust.
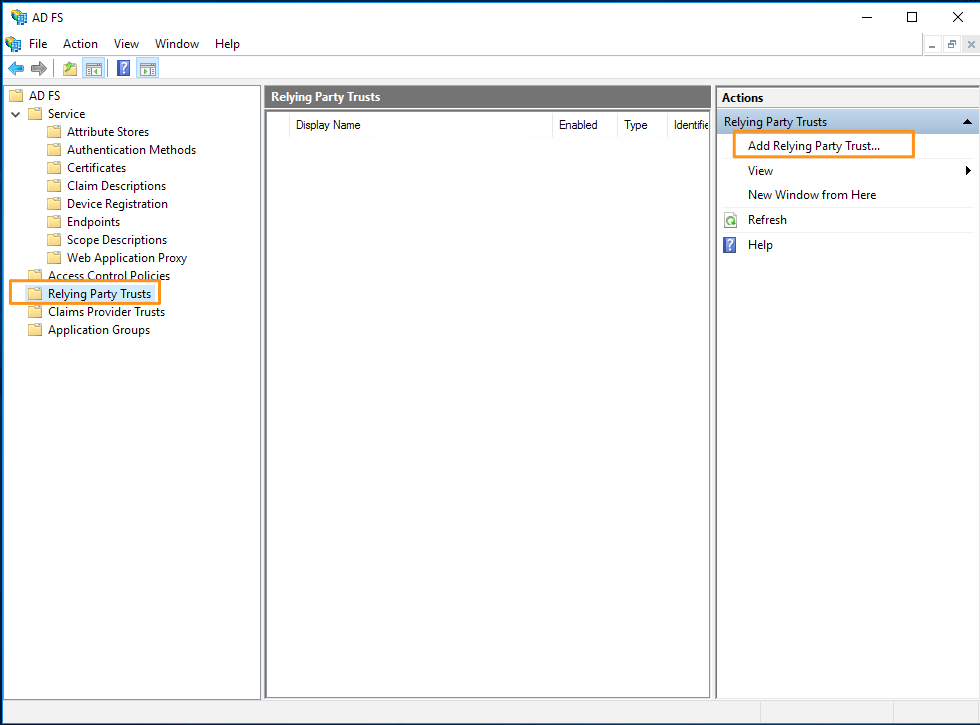
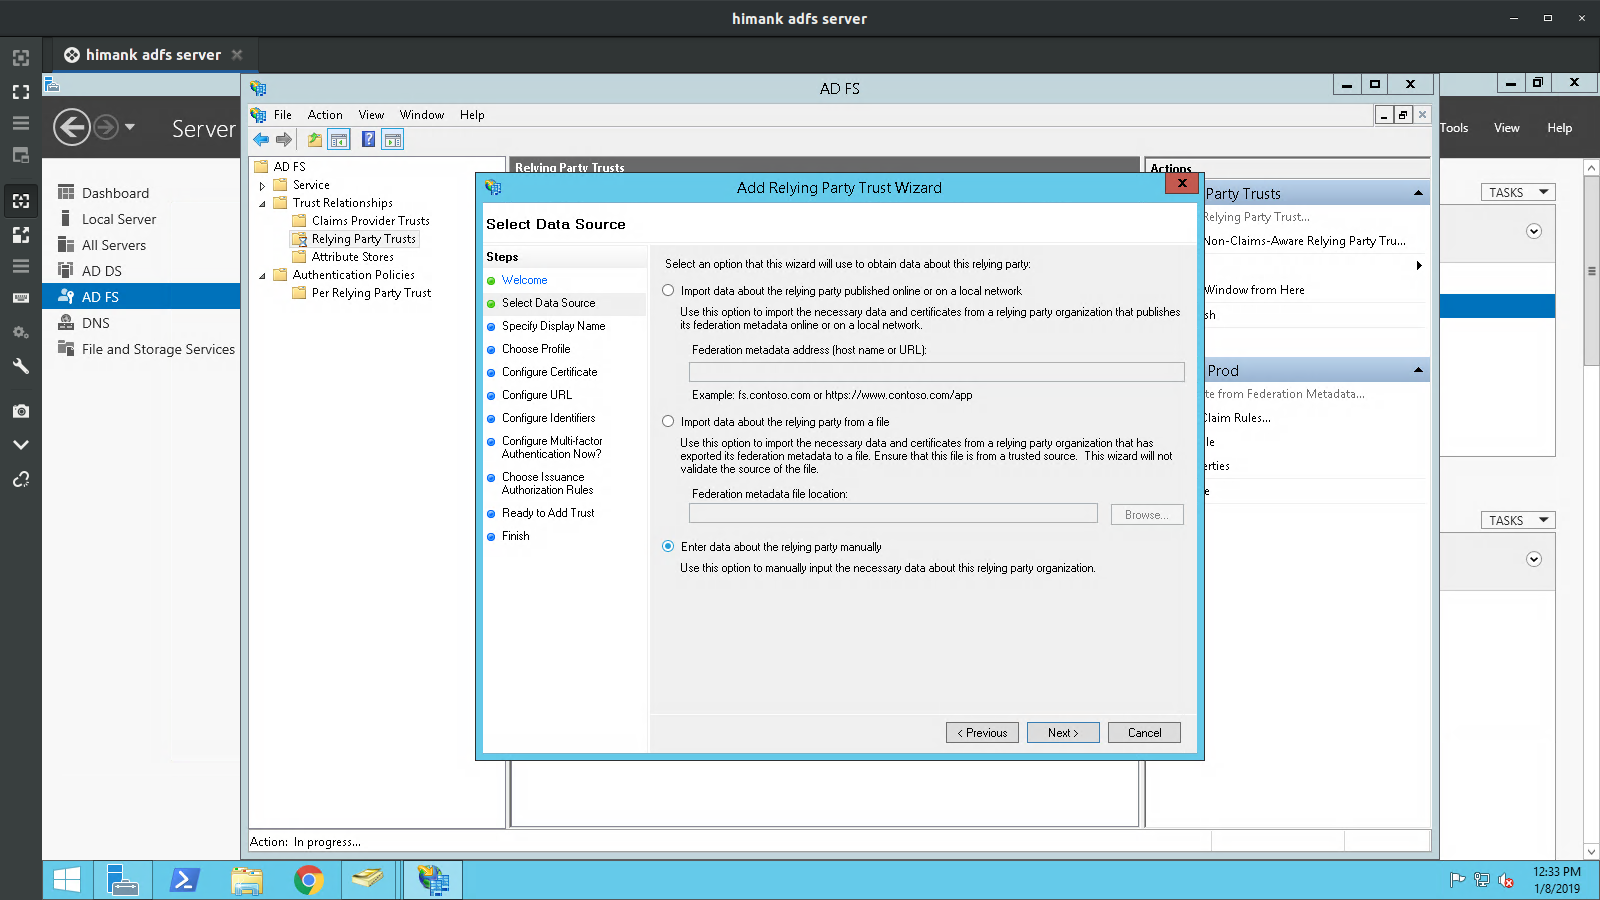
Add the Relying Party Trust Wizard. On the Welcome screen, select Claims aware, then click “Start”.

Select the Relying party manually. Enter a Display Name on the next screen and click “Next”.
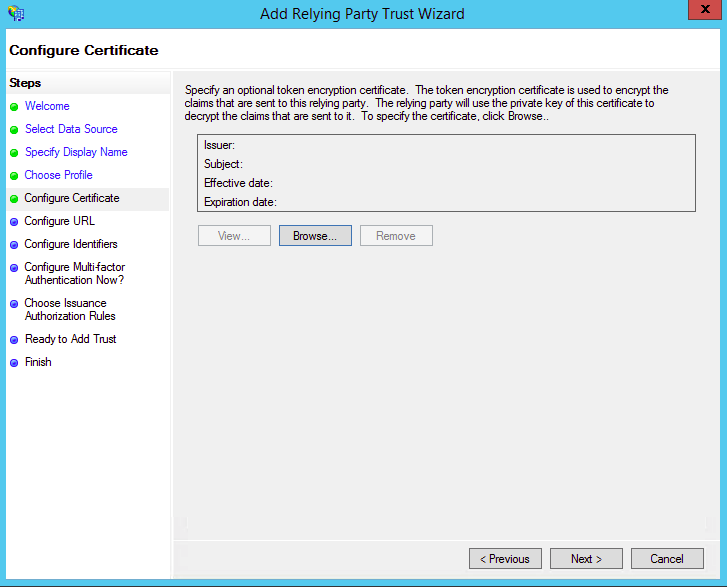
On the next screen, leave the certificate settings at their defaults.
Next, choose appropriate configurations to profile select ADFS profile then enable SAML 2.0 WebSSO protocol.
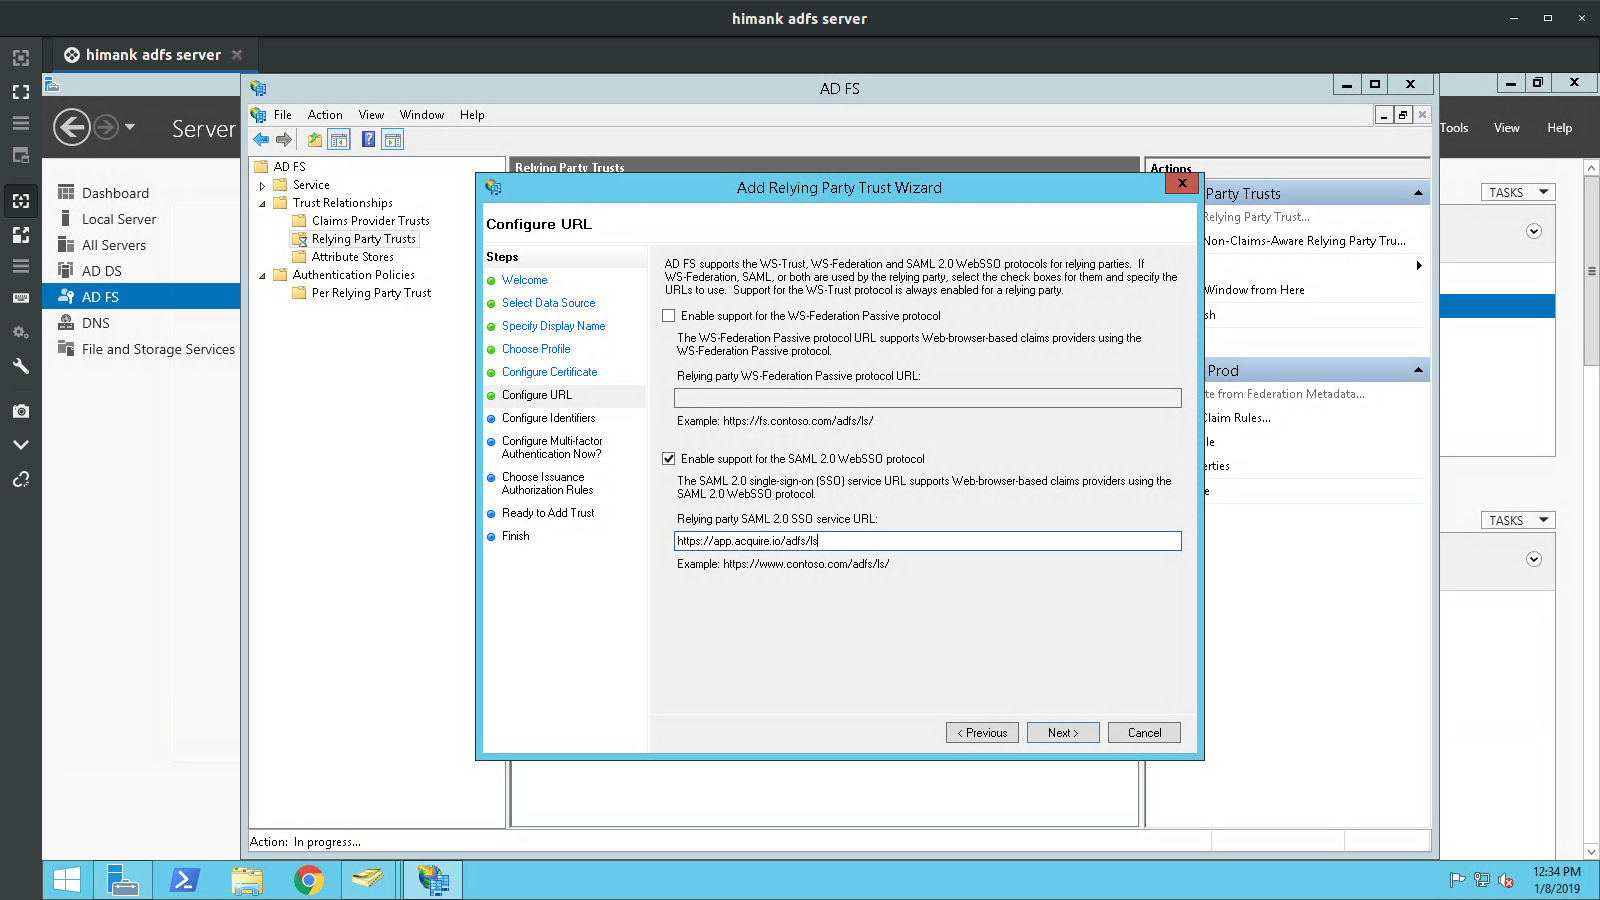
Next Enter relying on trust URL: https://app.acquire.io/adfs
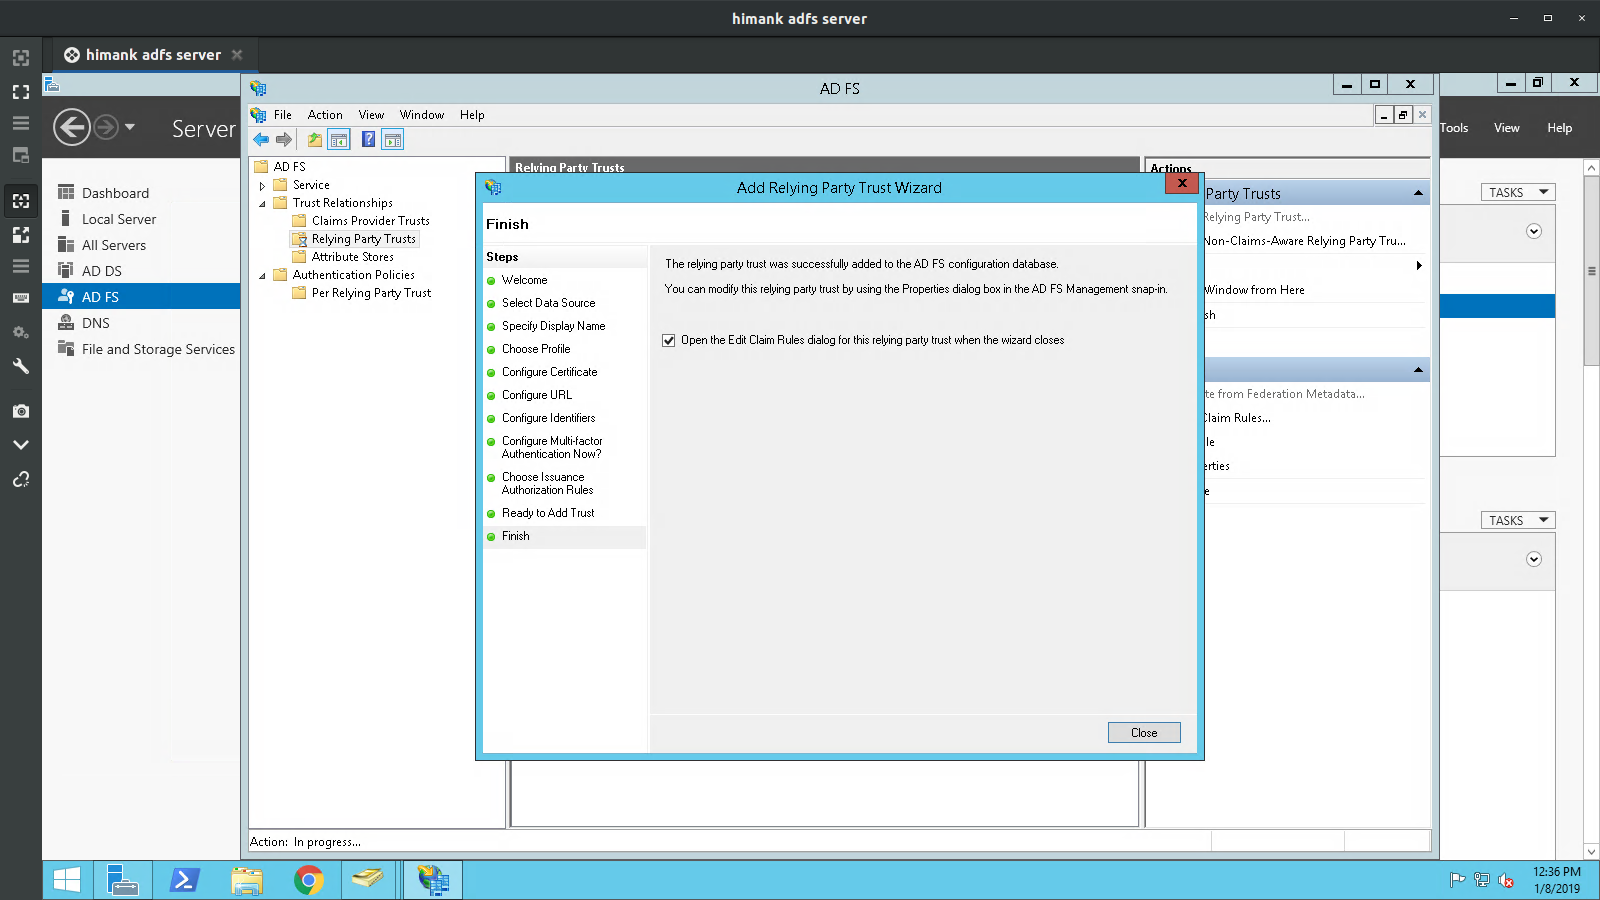
Pass through all steps and finish. The Finish screen shows that you have added the Relying Party Trust successfully. Leave the checkbox checked for the Configure claims rules wizard, so that you can proceed..
On the Configure Claim Rule screen, enter a Claim rule name and enter the info.
The Edit Claims window will appear. If you don’t see it, it may be hidden behind other windows on your screen. Click Add Rule…
On the Choose Rule Type screen, select Send LDAP Attributes as Claims, then click “Next”.
Name your Claim rule name. We’ll now add three LDAP attributes to outgoing claim types as follows. Click “Finish”, once completed.

Select Pass through all claim values, then click Finish.
Step 2. Download Token Signing Certificate For Authentication
Choose token signing & click “View certificate”
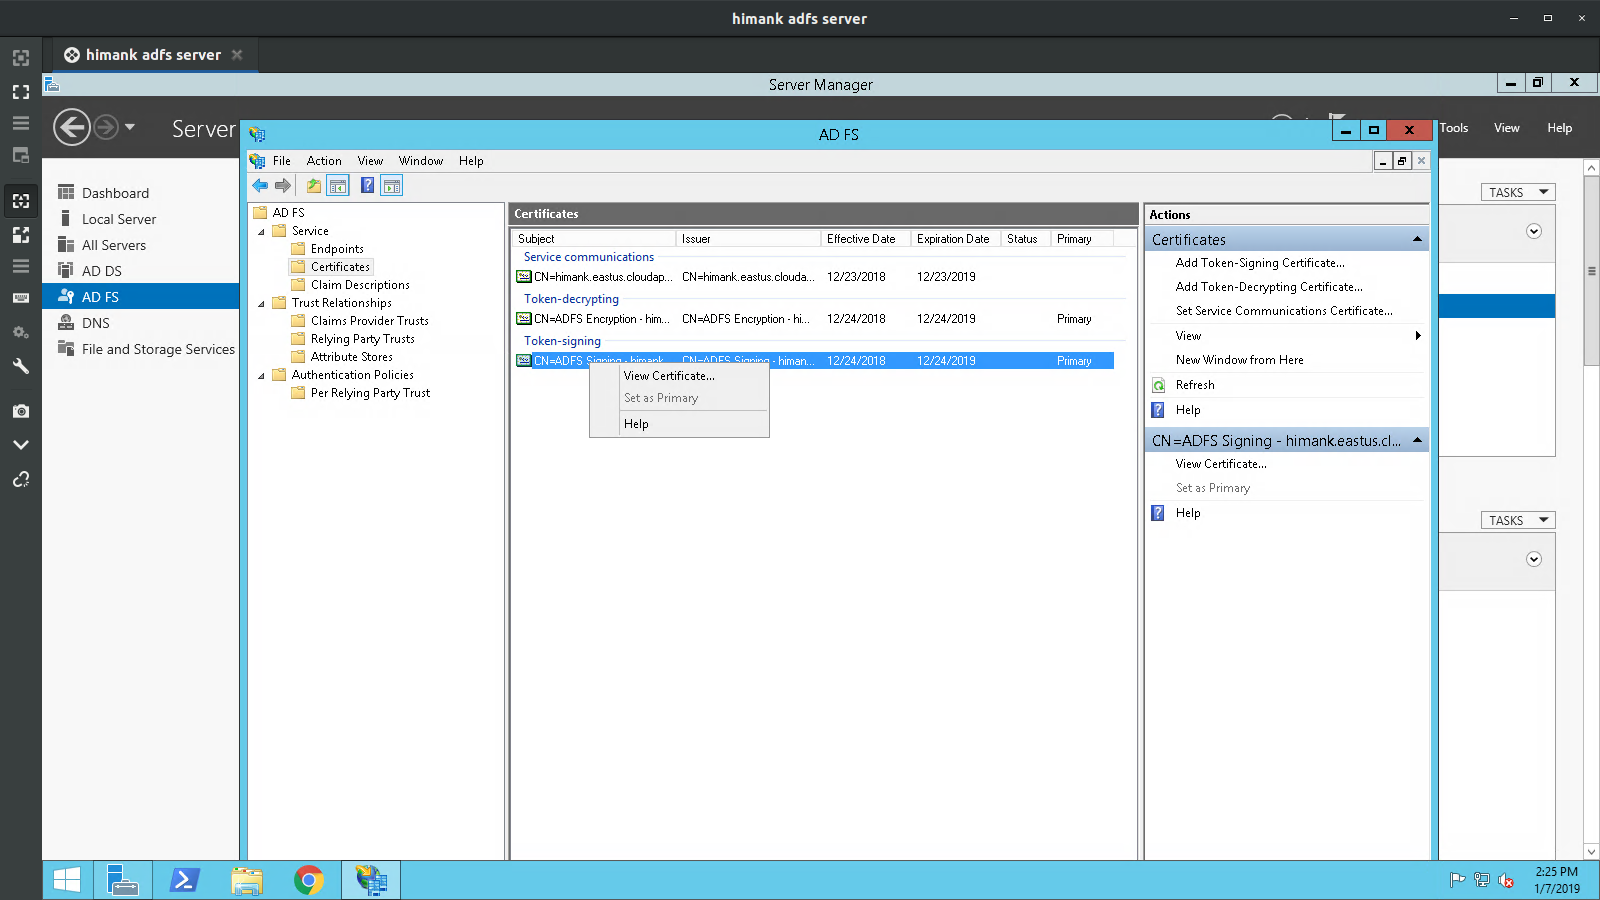 Follow these steps: Certificate > details > copy to file > Export File Format(Base 64 encoded X.509 {.cer})
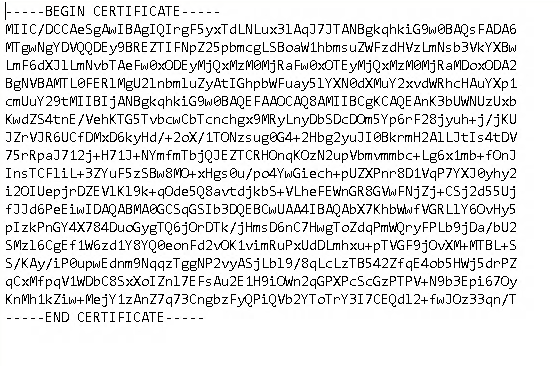
Pass through certificate export wizard, save and copy the certificate and add in acquire configurations.
Example certificate, copy and paste in acquire configure: (this is example certificate)
Step 3. Create The Acquire Authentication
Now in this step, you need to configure with Acquire. You will need ADFS Federation Login URL & Token-Signing certificate.
Acquire > Settings > Integrations > sso > Microsoft ADFS
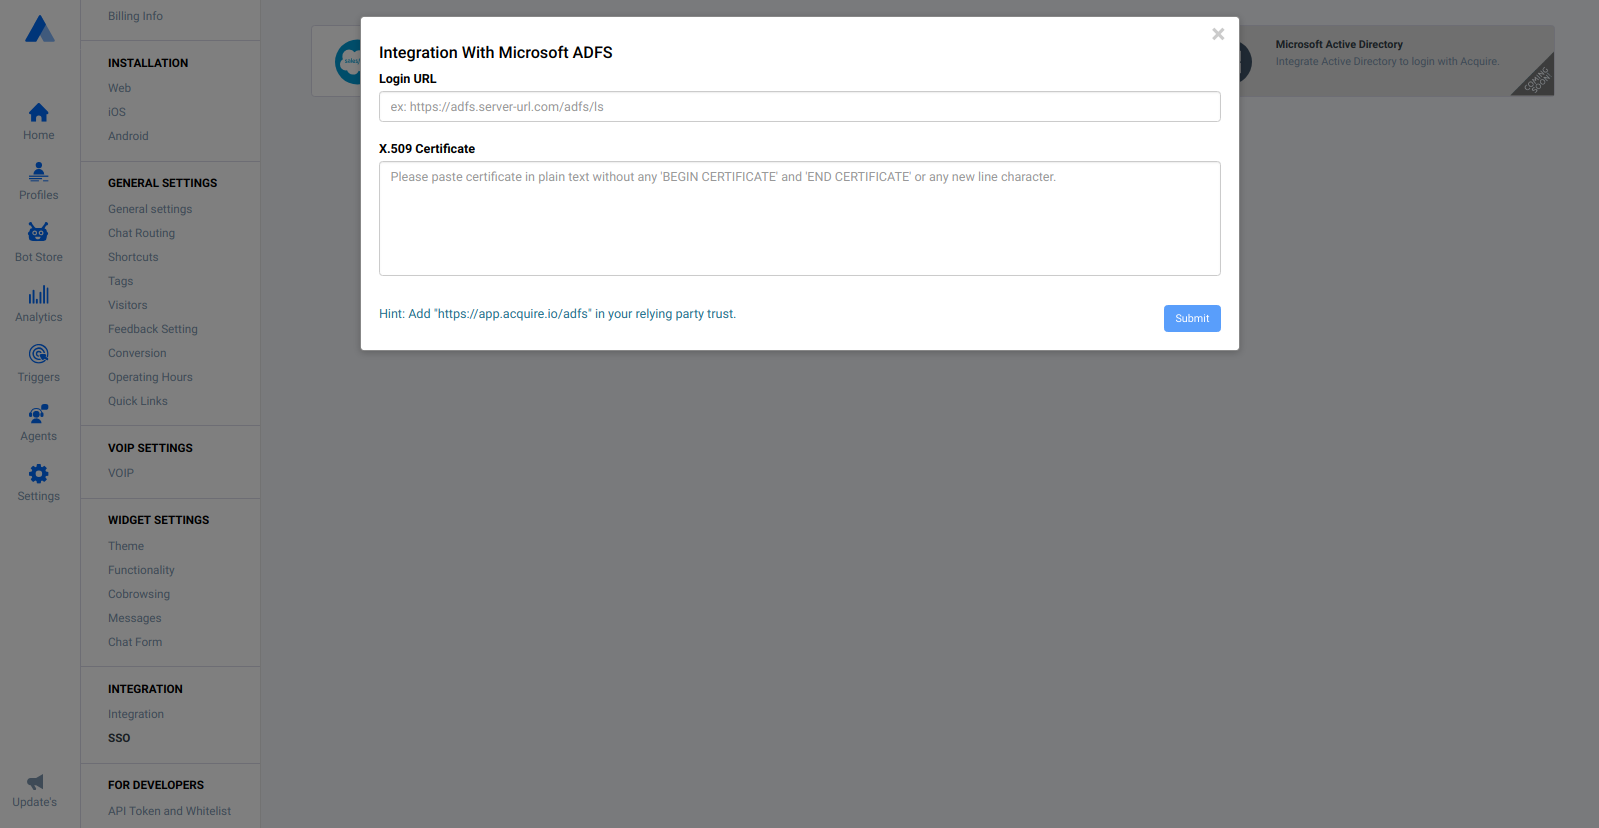
Let’s add configuration & save.
Step 4. Testing
You can use the following URL to give to your domain users to log in with their Domain credentials: http://app.acquire.io/adfs?account_uid={{Account Id}}
Replace {{Account Id}} with your Acquire Id.
The above URL is case sensitive.
Your users can log in with either credential:
Domain\username
surendra@org.local
Password

If the login is successful, you will signed-in to Acquire automatically and redirected to the dashboard.