Integrations
Azure Active Directory
You can now offer Azure active directory to your Acquire accounts.
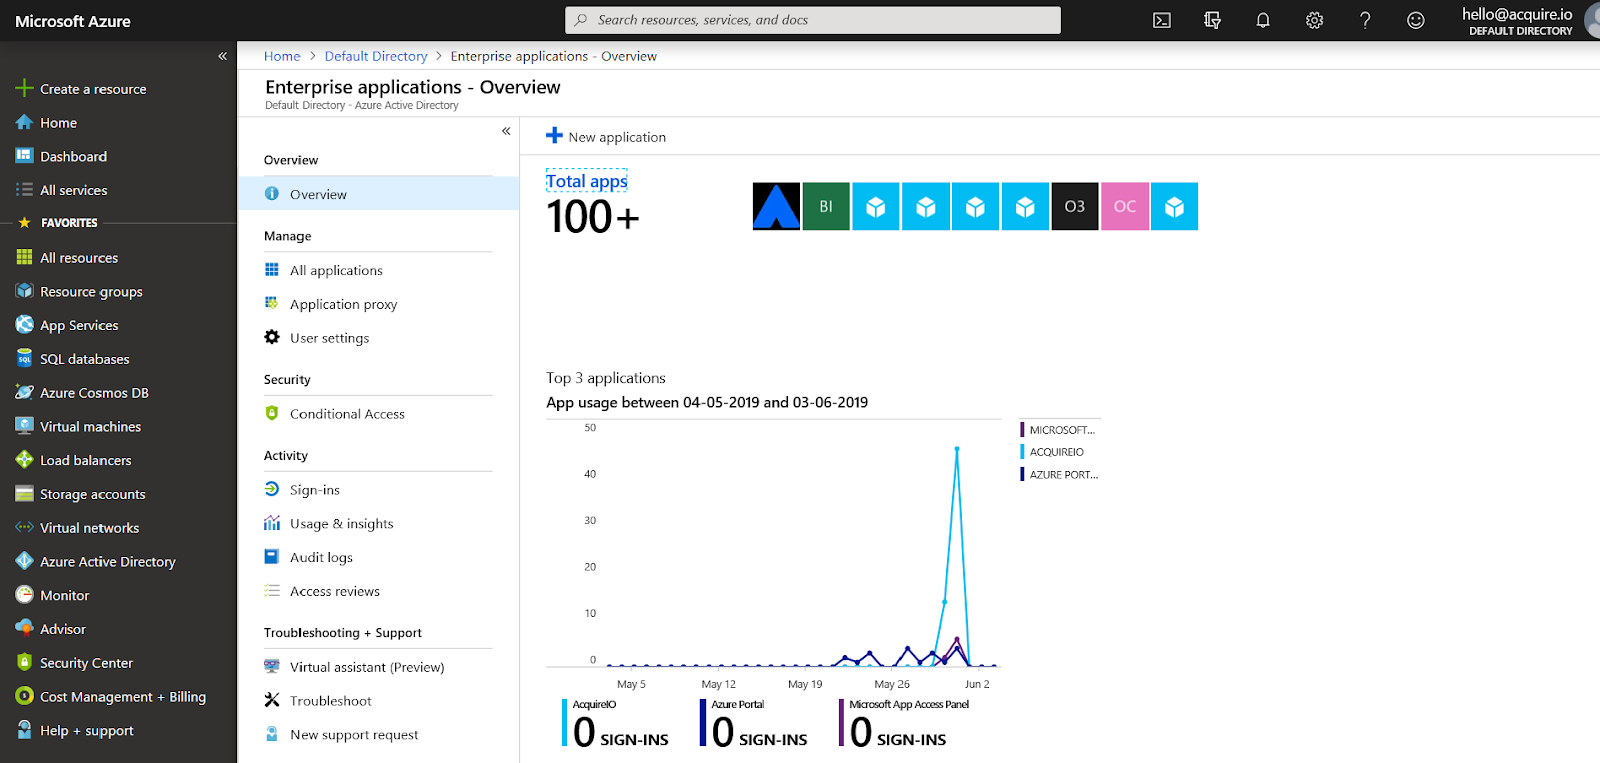
Once you’ve logged into your Microsoft Azure portal, use the sidebar to navigate to Azure Active Directory. Select “Enterprise Applications” and then "All Applications." Next, click “New Application”.
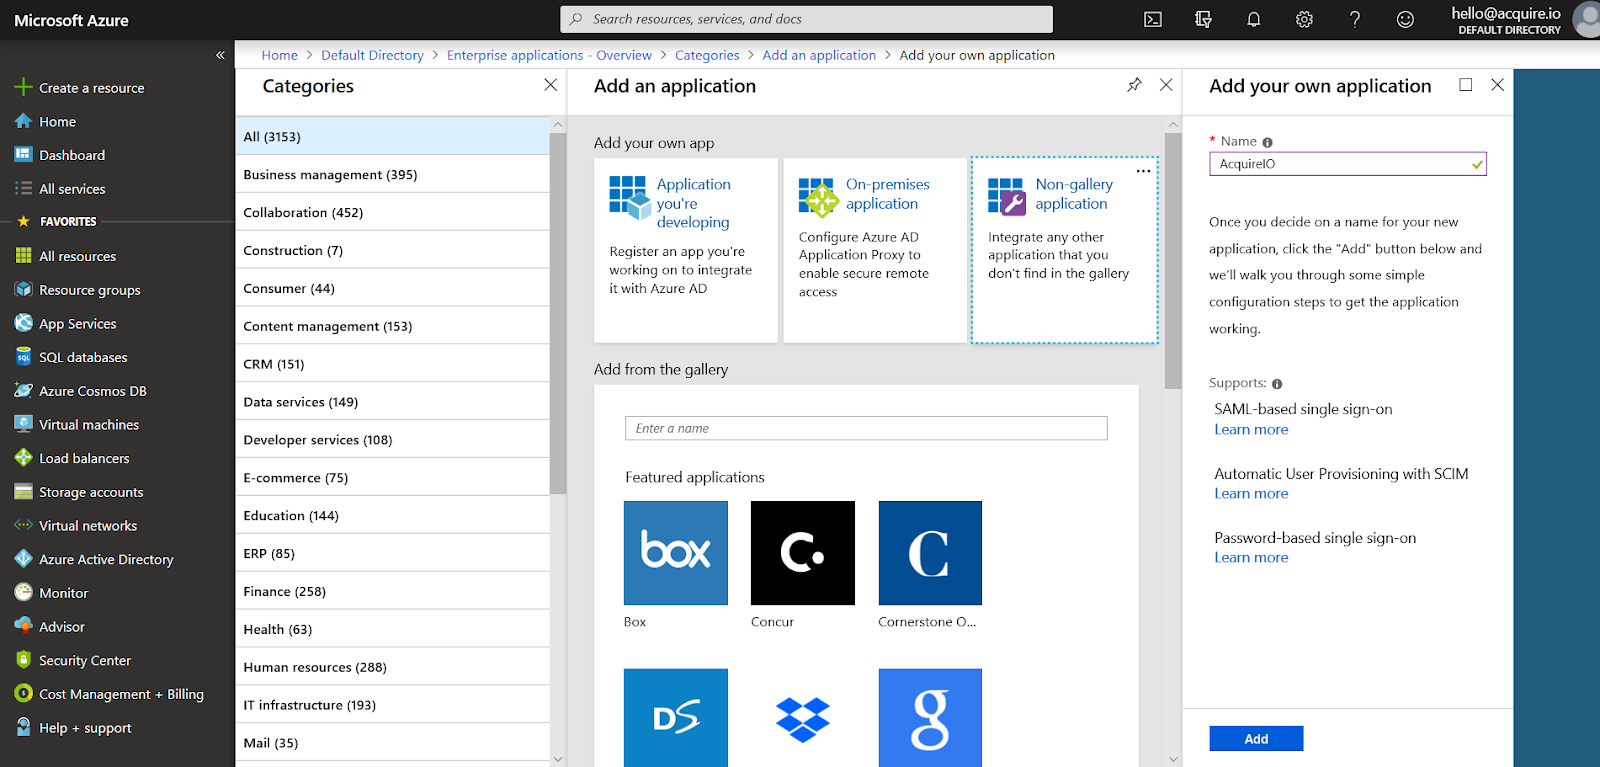
Next, choose “Non-Gallery Application” under the “Add your own application” header and give the application a name (i.e., “AcquireIO”), then click “Add.”
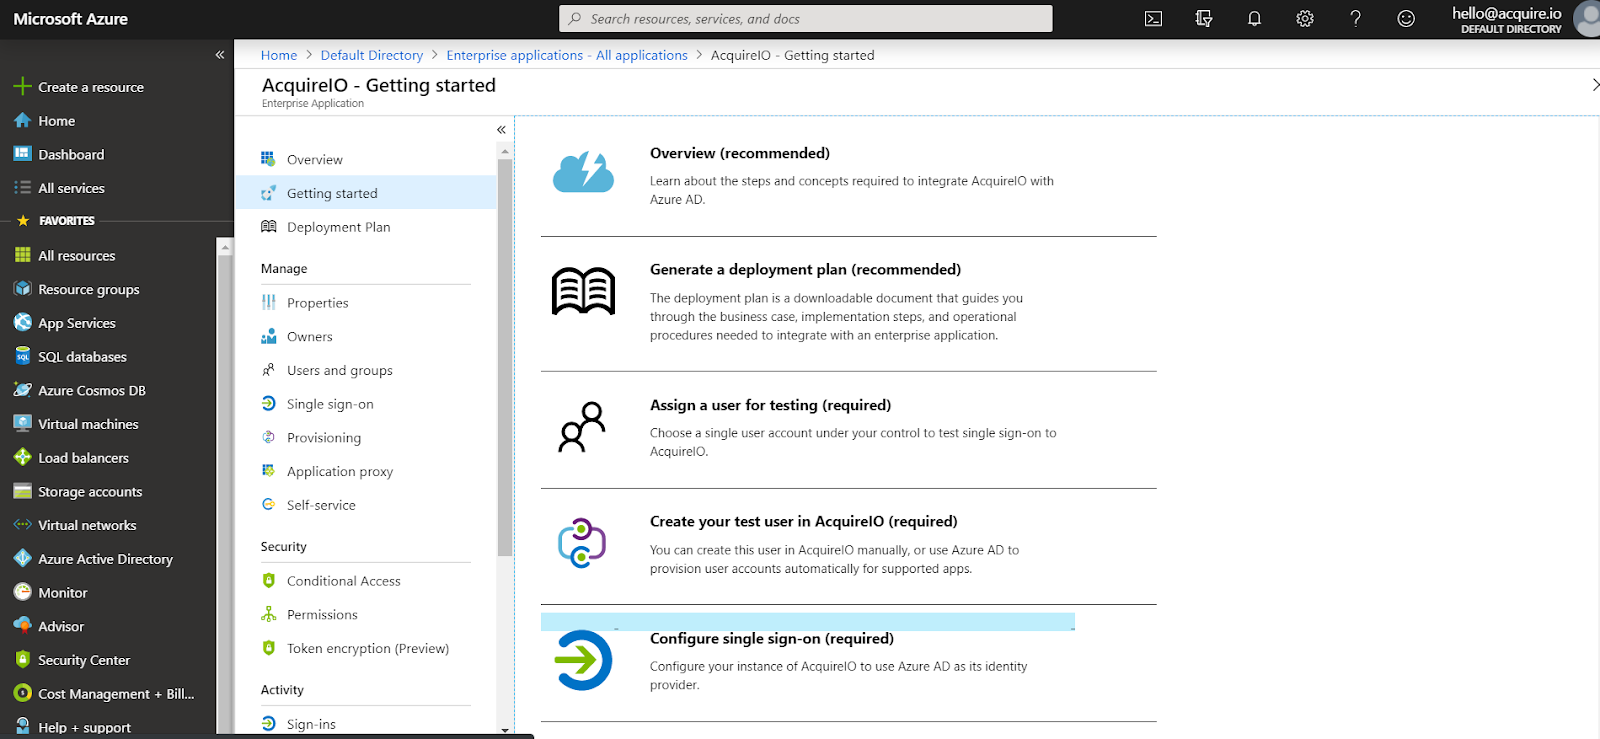
Click “Configure single sign-on.”
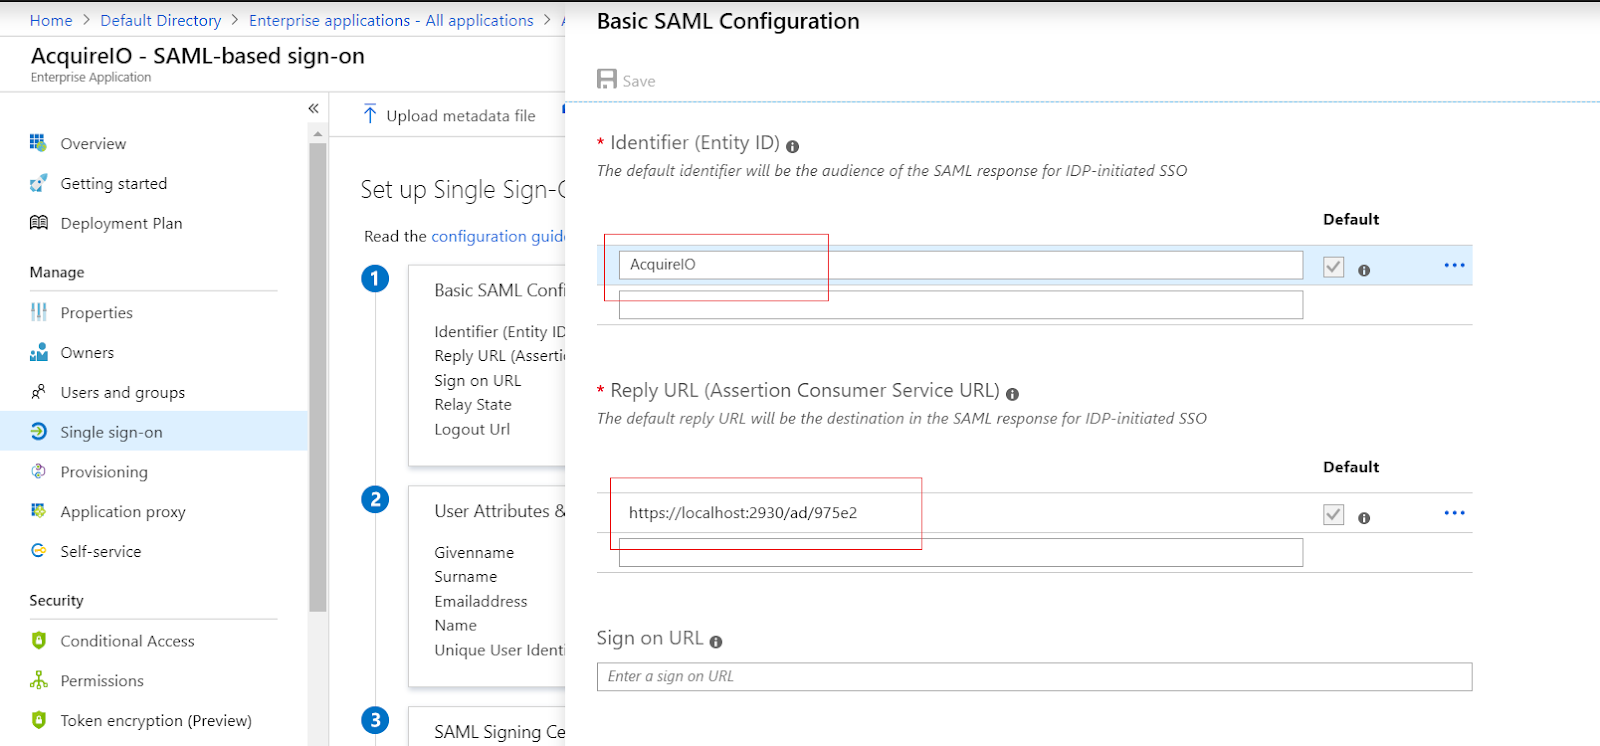
Choose “SAML-based Sign-on” in the top drop-down. Then, add the Identifier URL.
Their entity ID - a unique name that the identity provider uses for SAML 2.0. (Use the Identifier Entity Id “AcquireIO”).
Next, add the Reply URL.
Acquire: https://app.acquire.io/ad/{account_uid} (Copy from acquire>App Store > Active directory > Reply Url).
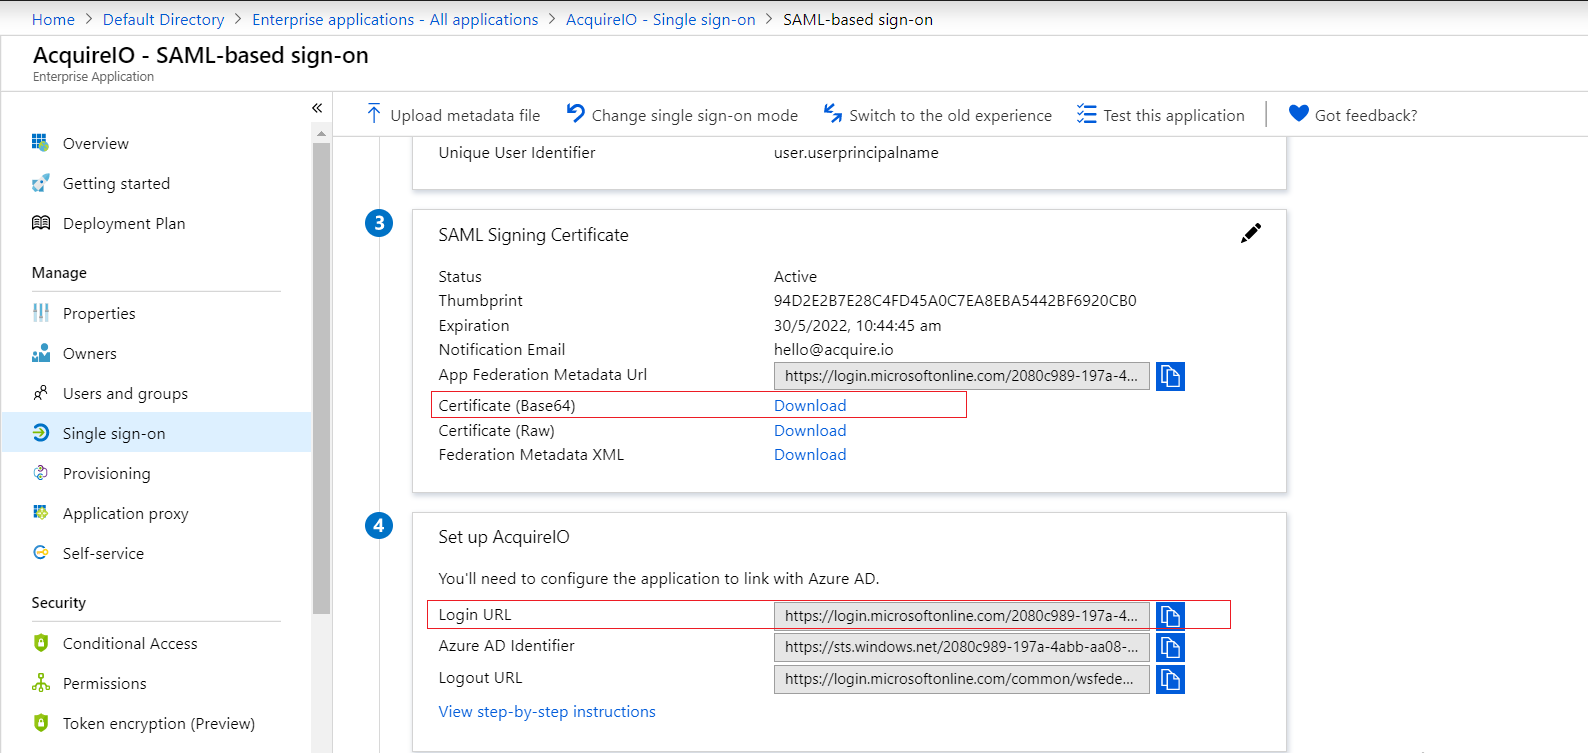
Copy the Login Url & Certificate (Base64). Download the certificate open in a text editor & copy the certificate.
Configuring Acquire
Next, you will need to set up the Azure Active Directory integration in Acquire.
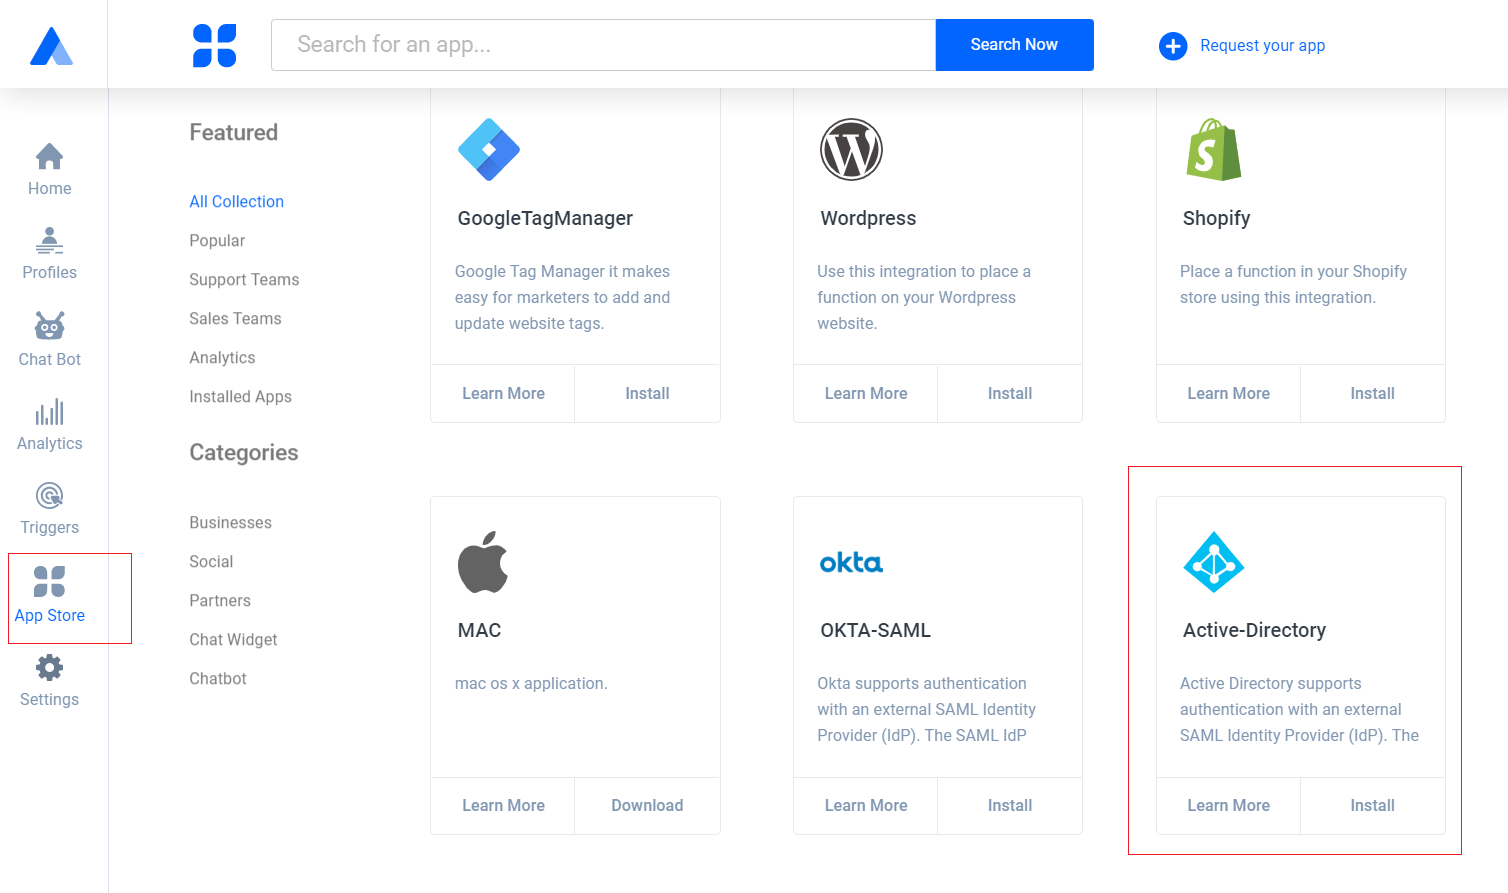
1. Open the App Store in your Acquire Account & click "Install" next to the Active Directory icon:
2. Enter your Login Url & Certificate in configure details & click "Connect now":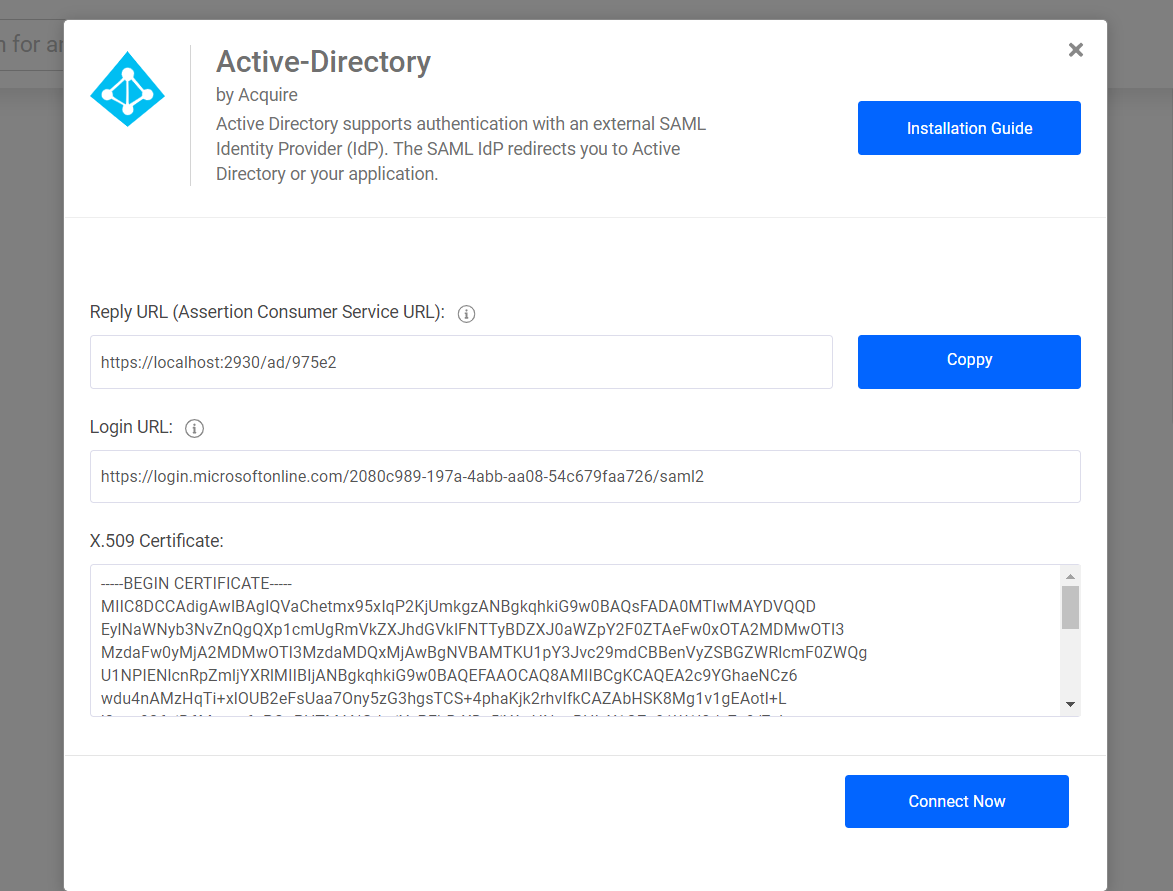
Test the SSO process with Acquire
Microsoft Azure recommends testing this with some test user accounts, before adding or importing all of your accounts.
Acquire Login Url(EndPoint Url): https://app.acquire.io/ad?account_uid={acquire account_uid}
Like this: https://app.acquire.io/ad?account_uid=59155